360 video offers filmmakers and video editors alike a boundless and immersive way to tell stories. But, there’s a learning curve. If you’ve ever worked with or watched a 360 video, you know that there’s a big difference between editing standard video vs 360. In this article, we will give you an overview of the post-production process.
Overview of the post-production process
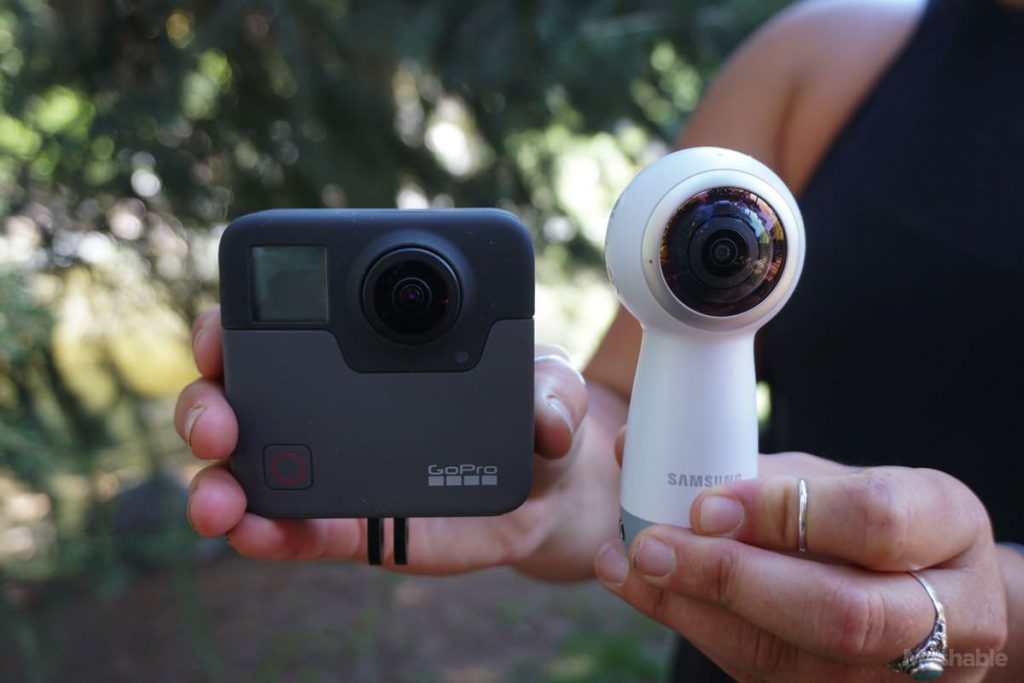
Step 1 – Managing your files
- Import media files
- Check if everything is ok with imported videos
- Delete media after import
- Organize files and folders (there will be a lot of data)
- Backup files if necessary
- Determine which takes you to want to use
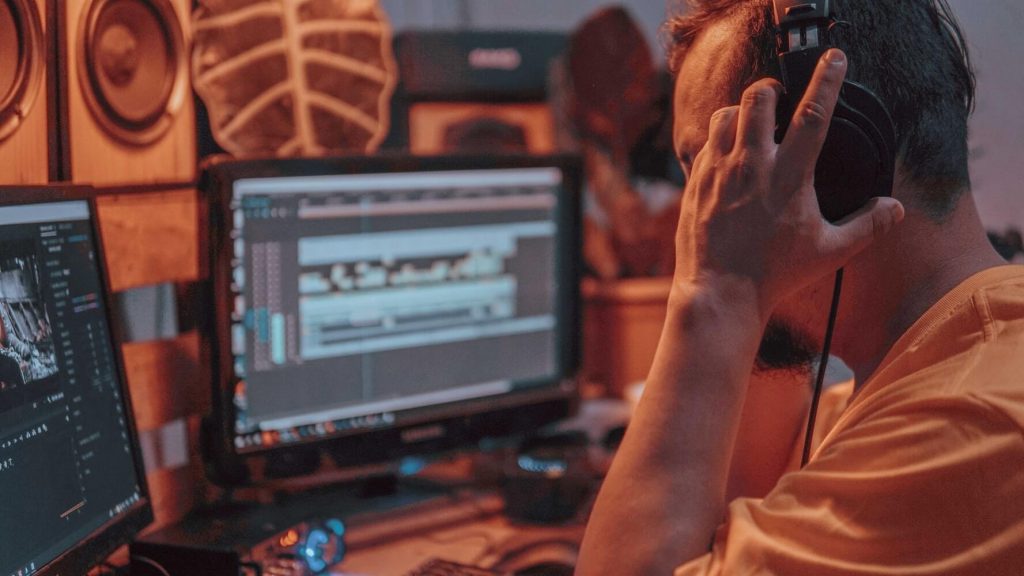
Step 2 – Editing & Compression
- Not as complicated as normal video production because:
- You shouldn’t have any quick cuts
- One scene is a single viewpoint
- There are 3 main task you need to complete:
- Trim the videos
- Fix the bottom of the video that’s called a Nadir (otherwise you’ll see the camera stand)
- Export / Encode into 4k, 30Mbps, 30-60 FPS
Step 3 – Finishing post-production with publishing
At this point, you should have ready-to-use files which you can publish on a 360-degree video platform (like YouTube) or you could use the files to build more interactive VR experiences (like Viar360). If you go with something like YouTube you simply upload your files and click on the publish button.
If you want to build something that’s interactive then Viar360 is a good choice for you. Viar360 is the most intuitive publishing platform that reduces the time, effort, and knowledge required to create highly engaging interactive virtual reality experiences from 360° videos and photos. At its core Viar360 is an authoring and publishing platform that lets you create interactive two types of content output:
- Single linear 360 VR post – you create a single clip in post-production and add it as a single media file to create a linear story.
- Multipath 360 VR storyline post – you upload individual clips to Viar360 and connect them together so the viewer can transition between different clips.
Conclusion
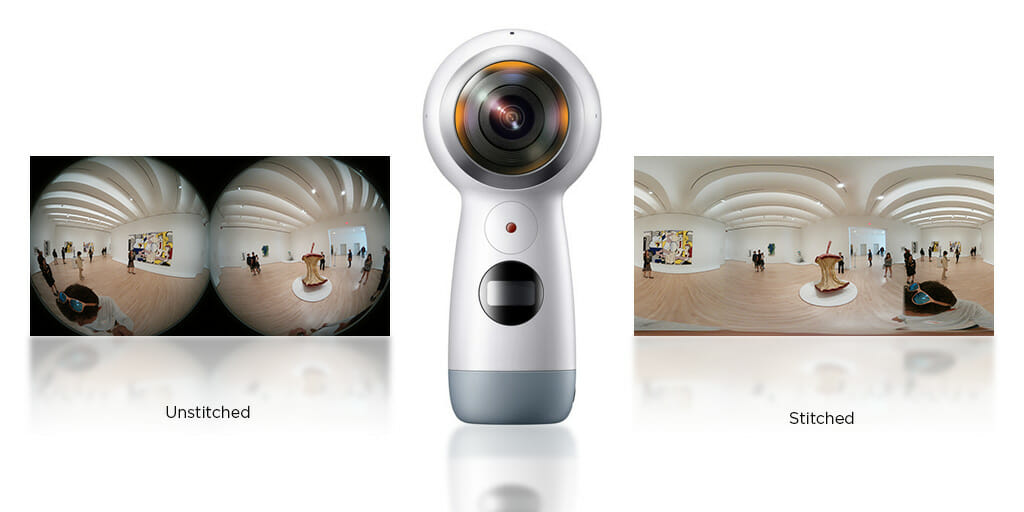
Post-production of 360 video takes patience, dedication — and a powerful computer. You’ll need to stitch and trim your footage, edit sequences together, apply visual effects, sync up the audio and render the final piece for distribution. The more scenes you shoot the more files you need to process. Doing it methodically and with attention to detail will give you the best results.