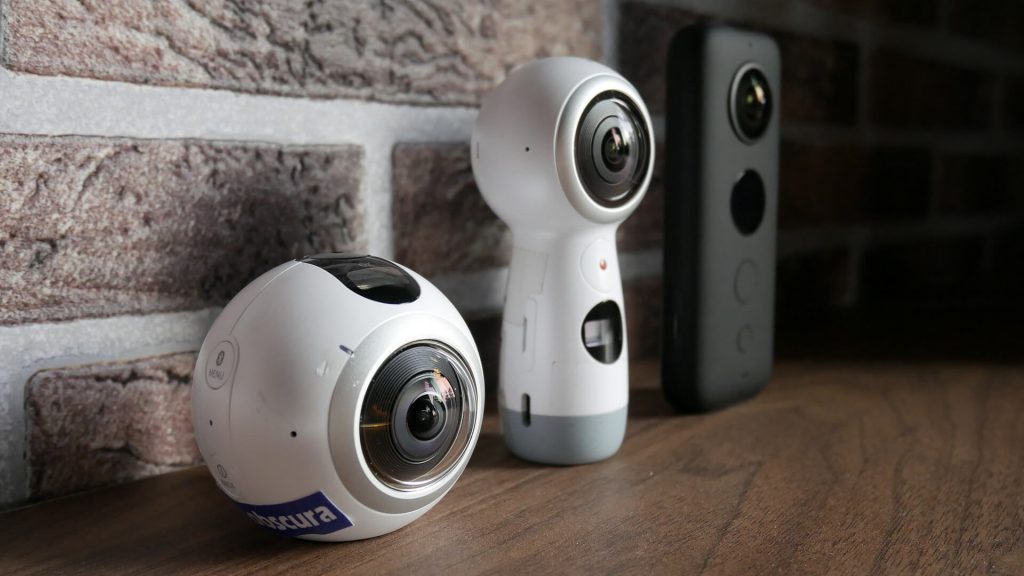
In a previous article, we dove into how to create a script for a 360 VR experience. Here, we’re outlining how to organize and execute a successful 360 VR shoot. The key is in being prepared for the production process. Unless you properly prepare, you’ll end up wasting a lot of time and a lot of money for hours of unusable footage. Below, we cover three phases: Preparing for the Shoot, During the Shoot, and After the Shoot.
Production checklist
- Prepare for the shoot:
- Test your gear (video, audio).
- Make sure everything is charged.
- During the shoot:
- Setup the gear (camera on a tripod,…).
- Place the camera as high as the eyes are on an average standing human.
- Properly align the camera’s stitch lines.
- Prepare set and actors for shooting the scene.
- Press record on your remote to start recording the scene.
- Say the scene number out loud.
- Clap three times for audio sync.
- Hide the crew and walk out of the Field of View of the camera.
- IMPORTANT: talk to the camera as it would be the actual viewer! Consider it as a person standing next to you.
- Say “CUT” + mark if a take is usable or unusable (saves time in post-production).
- Stop the recording with the remote.
- After the shoot:
- Connect external HDD to the computer.
- Copy and rename files.
- Check if everything is correct.
- Organize files into folders.
- Stitch takes if necessary.
- Edit in Final Cut Pro / Adobe Premiere if necessary.
- Prepare video for distribution.
- Clear SD cards.
Common problems
- Be prepared to troubleshoot – things happen, problems arise. Be flexible.
- Bring spares and backups – you never know what will break so it’s good to bring extra items.
- Consider overheating (longer clips, more heat) – consider rotating cameras.
- Take several takes for just in case – backups are alreays good to have.
BONUS: Guidelines to minimize sickness in VR
- Stable/level horizon lines – Every attempt should be made to keep your horizon lines stable and horizontal. Swaying horizons recall being on a boat in rough seas and can easily lead to virtual “seasickness.”
- Minimal bumps – You also want to make sure that there are minimal bumps or jostling of the camera during your moves otherwise it will feel as though you are on a mountain bike going down a bumpy hill.
- No pans – You shouldn’t pan or yaw the camera on the z-axis. This effectively forces a head turn to the viewer which is very disconcerting in VR. You should instead allow the viewer to turn their head naturally within the environment and look where they choose.
- Minimal Acceleration – Finally, you should limit the acceleration present in your camera moves. Fast acceleration and deceleration definitely can cause motion sickness.


