When you are building an interactive virtual reality experience, that is built on top of 360-degree media, we tend to go with 360 videos as this media format presents the recorded environment in a more immersive way. With a video, the whole environment becomes more dynamic. You can use the timeline to drop in specific objects or pieces of information at specific times. That does come with an increase in production costs. But what if there was a better way? In this article, we’ll try to show you how you can leverage Viar360‘s functionality to turn a 360-degree photo into a 360-degree video without wasting your time rendering 360 images in video editing software.
How are 360-degree images different from videos
When building interactive 360 experiences, you will be using one of two media formats: images or videos. Yes, you can add other formats inside individual scenes, but the foundation will always be built with one or the other. But there is a big difference between them.
360-degree images are static photos of the environment. They can be shot with a camera to capture the real world or they can be rendered from CAD modeling software to create a snapshot of a virtual world. If they are made in the equirectangular format they will look like they are stretched at the top and the bottom when you are not looking at them in a 360-degree view. The same applies to 360-degree videos. They too can be shot with a camera to capture the real world or rendered. They will also look stretched when you’re not viewing them 360-degree view.
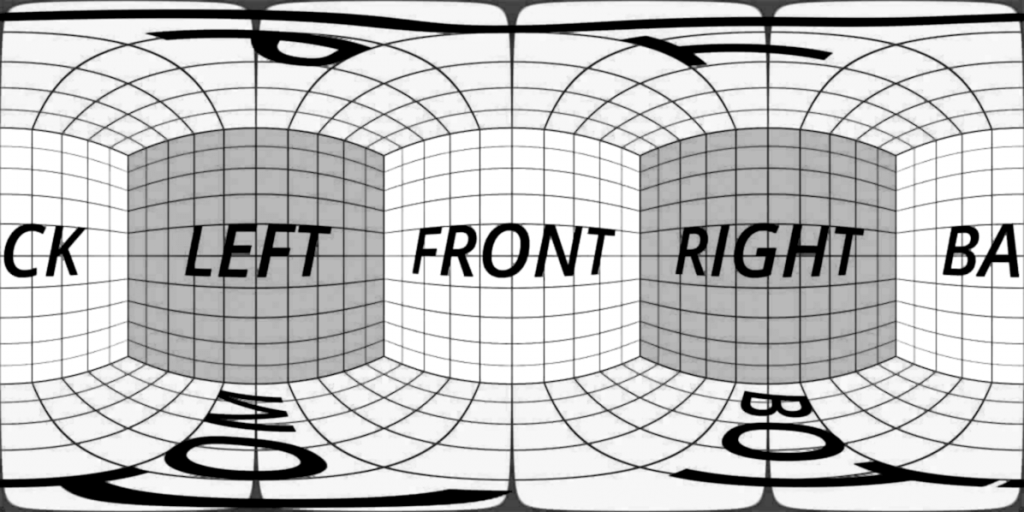
There are three main differences: resolution, size, and time. 360 images are usually higher resolution than videos. Because a video is a sequence of images that constantly needs to refresh, modern devices can’t usually go higher than 4k. This means that 360-degree video’s resolution is about 3840 x 1920 pixels as it needs to be in 2:1 format to be equirectangular. 360-degree images don’t need to refresh. They are loaded just once, so they can be shown in higher resolutions. Even older devices are able to support resolutions of up to 6000 x 3000 pixels.
Again, as videos are s sequence of images, they need to store more data, which means that video files are larger than image files. Yes, you can use certain compression algorithms to decrease the size, but then you risk losing your image quality. Images store less data so the file sizes are smaller as well. A minute of 3840 x 1920 pixels 360-degree video will easily be 150-200 MB. A 6000 x 3000 pixels image will be about 25-30 MB.
The big advantage that video has over images is that is has a time component. This means that you can make a queue of actions that happen in a specific 360-degree scene. Images then to be static snapshots of the environment. Everything is visible right from the start. There is no before and no after.
How can you use Viar360 to turn a 360 image into a 360 video
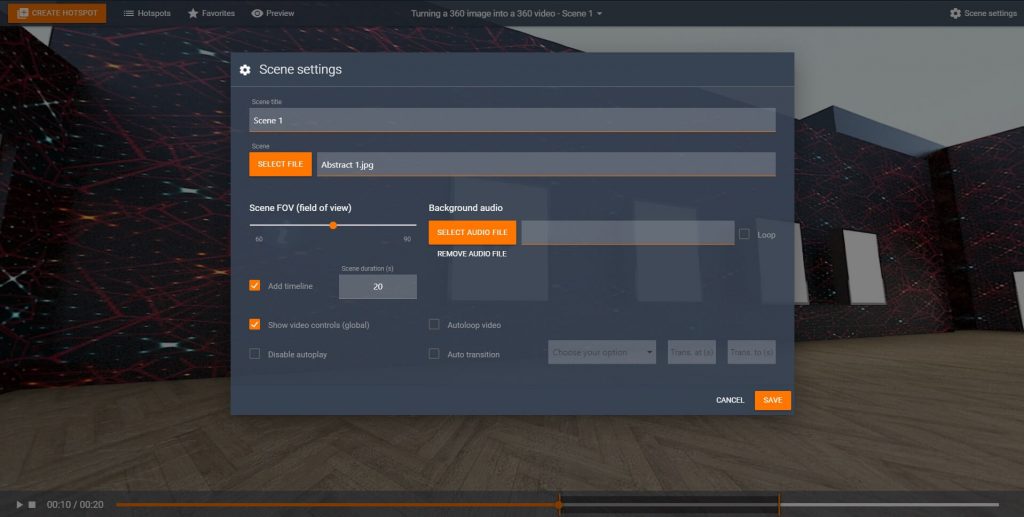
Recently we added an interesting feature that allows you to add a timeline to a 360-degree image. We saw that in immersive training authors tend to use relatively static scenes in certain use cases. Let’s say you’re introducing a new hire to their work position. You will typically use a 360-degree video shot from a single position. You’ll then add some time-based information popups and a voice-over to explain what is what. For somebody to view that you will have to stream the entire video. If the viewers have a poor connection they will either have to wait for it to buffer or view it in a downgraded resolution.
If the environment is relativity static, why wouldn’t you just use an image and add a time component to it? This is exactly what this new Viar360 feature does. As seeing is believing, please take a look at the bottom video to see how it is done.
Benefits of doing it our way
Why would you do it our way instead of using just a normal 360-degree video:
- The images are loaded just once, which means that the file size that needs to be delivered is 10x less than with 360 videos. This means no buffering or resolution drops.
- The resolution will be higher as you can easily go up to 6000 x 3000 pixels. This will make the environment crisper.
- You can easily update the time component. If you need more or less time just update it in the settings. No need to render new 360-degree videos.
Of course, if you’ll be using more dynamic content in the video or if you will be moving the camera while recording, you will still probably use 360-degree video as your underlying media file for your virtual reality experience. At least you can make sure that the more static video scenes are slimed down by using Viar360‘s “Add a timeline” feature.


