We share these experiences. We tell our friends about them, post the pictures and videos we’ve captured on social media, and try to relive them. It seems that we’re starting to prefer living those experiences over having material possessions. No wonder 360° video is becoming so popular. It virtually creates those experiences for us, right from the comfort of our online devices. But good experiences come from good videos so here are some best practices for recording 360-degree videos.
Tip #1 – Do not stand in the camera view
One of the most important best practices and practical considerations you must plan for is that everything in the scene will be shot. This presents a big challenge when you are the director and need to see and hear what your actors are doing during the take. Likewise, it becomes very difficult to light the scene if you can’t have big lighting rigs lying about. Everything must now be hidden organically within the set or it must be removed. This includes you and your crew. Watch what you shoot by connecting your camera to your phone.
Tip #2 – Best practices on the Field-of-view (FOV)
The single biggest mistake people make when starting to shoot VR is feeling the need to have action occurring all around the camera at all times. With VR you do not need to have action occurring at all times around the camera. In fact, it becomes very fatiguing for the audience constantly to have to contort themselves around as if watching a tennis match. In real life, we are not constantly thrashing our heads around looking in all directions. It’s best to keep the action within 150° – 180° in front of the viewer and save the looking behind us for moments that are organic. Where does 150° come from? The FOV in most HMDs is roughly 90-100°. You can comfortably turn your head roughly 30-50°.
Tip #3 – Forget about the 2D filming techniques
Another common mistake is trying to force 2D film language into what is a truly new medium. In VR, even though you can’t zoom most cameras due to their nature you can do a closeup by simply having the actor approach the camera. They will not only get bigger but will also actually get closer to the viewer when viewed in an HMD. This not only focuses the viewer’s attention on that subject since they are filling most of the view (if they are looking in that direction!) but also instills a sense of emotional connection to the subject.
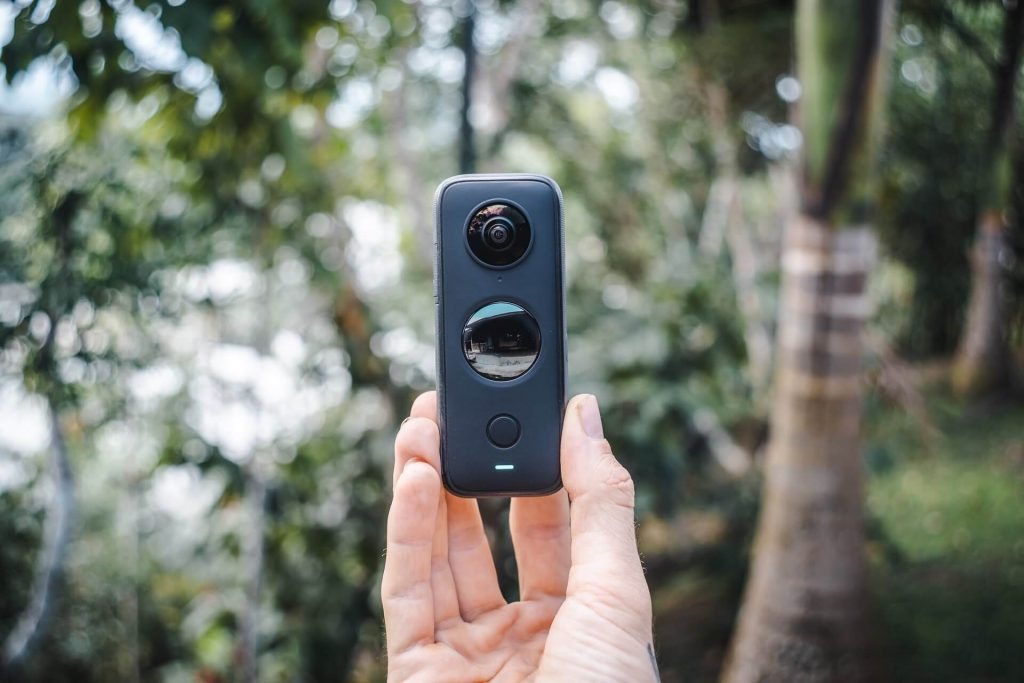
Tip #4 – POV, eye contact, and camera positioning
Every shot really needs to be thought of as a point-of-view shot. If you want to know what it’s going to feel like in the shot simply put your head at the location of the camera and look around! Because of the realism, VR affords the viewer will feel very much a part of the scene from a 3rd person’s perspective watching as events unfold. But have one of the actors break the fourth wall and look into the camera and the viewer will instantly feel as though they are drawn into the story and now participating from a 1st person’s perspective. Eye contact in VR is even more powerful than in 2D when drawing the viewer in. In general, the camera should be about 1.5 meters or 5 feet from the main subject, as this should give it enough prominence in the shot without making it uncomfortably close. The camera should also be at the eye level of an average human.
Tip #5 – Limit the movement of the camera and make sure your shots are level
Another tip on our list of best practices for recording good 360-degree videos is to keep the camera as stable as possible, using either an optional accessory such as a tripod, extension arm, or handy grip. Because the camera sees everything in full 360 degrees, there’s no need to move the camera up/down or around in a circle. Your viewers can do that as they watch the video you’ve captured. It will also help your viewers if you keep the base of the camera level to the horizon line in your scene. Doing so ensures your audience won’t lose their sense of balance. When planning your shoot, try to let the person viewing the experience be in charge of where they go. Any disconnect between the camera’s movements and the viewer’s own body movements can be disorienting at best, and nauseating at worst. While you may not realize it, another item that causes disorientation is an off-level horizon. For a standard photo, adding an angle to the shot can add a nice effect, but in VR, you’ll end up with a person having to tilt their head to the side in order to maintain their balance.
Tip #6 – Best practices for cutting your 360 videos
You are allowed to cut and merge 360 videos together, but remember that your viewer can be looking anywhere when you cut so it may not have the desired effect. Most important is the pace of the cuts. Every time you cut it’s like you’re teleporting to a different location and that can be very jarring especially if the pace is too quick so you’ll want to slow this way down. The viewer needs a good amount of time within a new position to fully immerse themselves, look around, and get their bearings. Though hard cuts can work and are effective for feeling abrupt changes, in general, it is much gentler and more effective to “blink”. This is where the scene dims to black and then back up to the cut scene over the course of about a second or more.


