There is a general trend where all-new 360° cameras are going towards an auto-stitched output. That’s great … not just great, that’s amazing! We are thrilled to get rid of all the steps that were needed to create a 360-degree video from separate video streams. It was a major pain in any VR producer’s workflow. But still, even with the new cameras today, it’s still not as simple as the sellers would like you to believe. We are working with several journalists and editors who are testing Viar360 as their publishing platform. We were a bit surprised when we discovered that a lot of them still had issues when wanting to upload the videos from the camera to be played as interactive virtual reality stories. What saw a lot of them didn’t know how to “auto-stitch” the videos before uploading them to the platform. Therefore, we decided to write this blog post explaining this intermediate step of how to stitch 360 video and photo files for some of their more popular cameras.
Why do I need to stitch 360 videos and images before viewing them in VR?
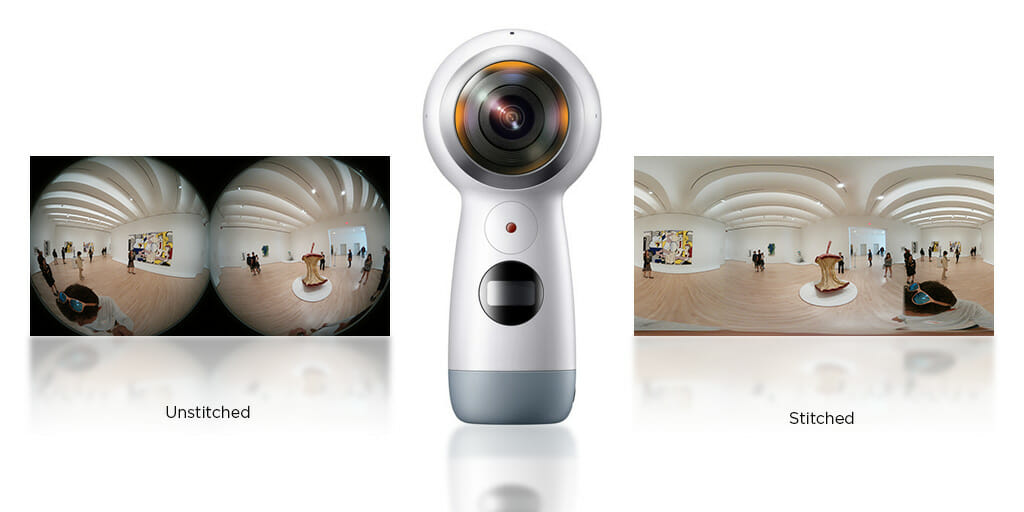
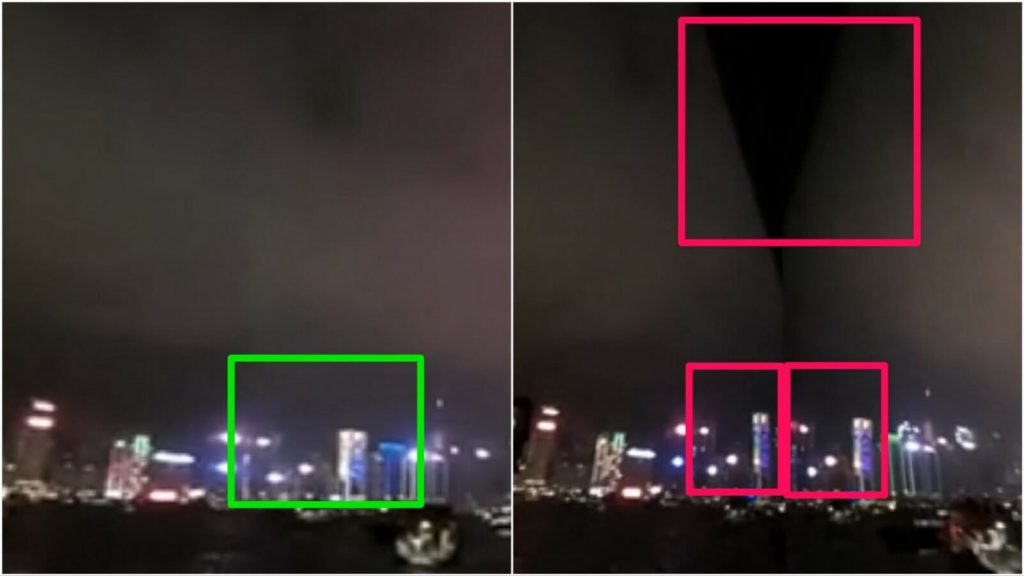
If you don’t stitch your 360 videos and images before viewing them you will get big backspaces and the whole 360 scene will look wobbly. In the image bellow, you can see what I mean.
How to stitch 360 videos and photos from Samsung Gear 360?
If you’re using one of the new Samsung’s flagship phones you can stitch the 360 videos with your phone. It will take some time, but the simplicity of Gear 360 – when connected with a Samsung phone – is amazing. The story is a bit different if you don’t have a supported phone to connect it with. In this case, you would need to use Samsung’s (CyberLink’s?) Action Director. You get a license key when you buy the camera. If you borrowed it, ask the person that you borrowed it from to stitch 360 video for you.
How to do this for Kodak PIXPRO SP360 4K?
If you are using just one Kodak’s PIXPRO SP360 4K camera, then the output is already stitched, but you wouldn’t have a full 360°x360° experience as it only supports 360°x235°. What users usually do is that they buy two of these and stitch the outputs from both cameras together. This way they get a full 360°x360° viewing angle and an output with a higher resolution. The bad side of this approach is that they need to manually stitch two 360 videos into one.
How to stitch 360 videos and photos from Ricoh Theta S?
Before Gear360 came out Theta S was one of our favorites. The simplicity of the shooting process is one of the best we have seen. It also doesn’t limit with which smartphone you can connect it with. But while the 360-image quality is OK, it’s not an appropriate device to record 360-videos on. Ricoh is promised that a new version of the camera will be on the market soon, but we will see if that comes true. If you output video with the Ricoh Theta S without processing it, the video will be displayed as separate images, but by using Ricoh’s desktop app, the images and videos are converted to be properly displayed. The process is simple. You drag and drop the videos from the memory card in their software and what you get out is a stitched version of a 360-video that is ready to be used.
What do I need to do if I’m using Nikon KeyMission 360?
Nikon’s KeyMission 360 was one of the cameras that we were most excited about. After playing around with it, we discovered that Nikon still has a lot of work to do when it comes to the software part of the device. This kind of ruins your experience with it. We added it to the list is because it truly does auto-stitch the 360 videos and photos created with it. Whatever you capture with it, it is ready to use straight from the SD card. This is the main reason why we use this camera almost as often as Gear360.
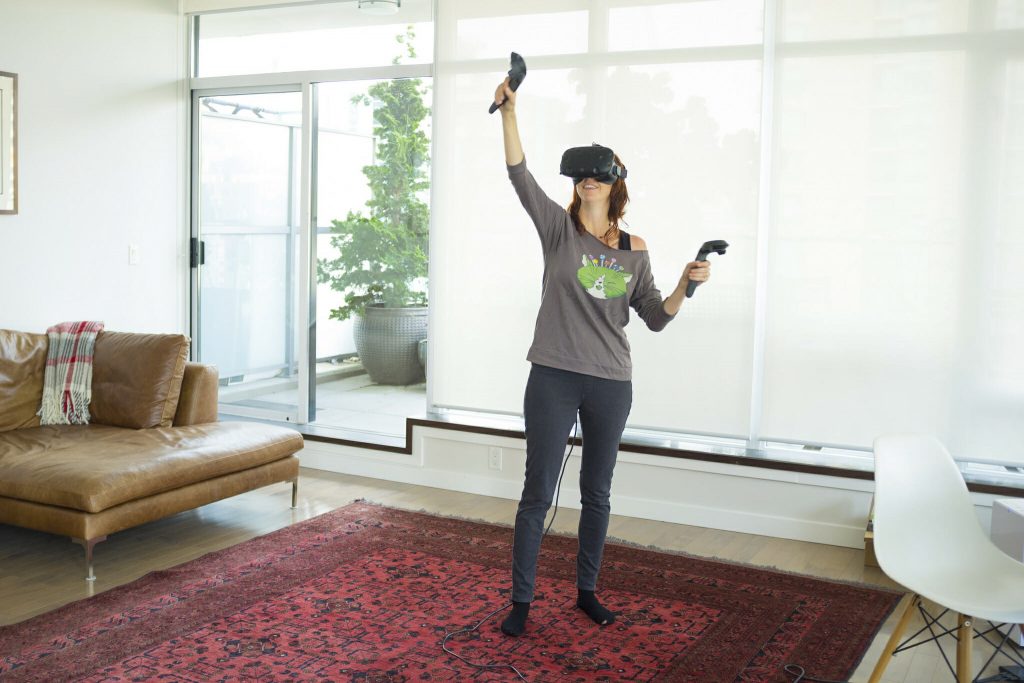
How can I create an interactive virtual reality experience from my 360 videos?
You have several clips – how do you connect them? Do you need to post your work on your company’s LMS – how do you add a VR experience to it?
Luckily, we designed Viar360 in a way that lets you do all of this without calling up your IT guy. Viar360 lets you upload your 360 videos and gets them ready for use in VR. The online editor lets you add interactive elements on top of your video layer and connect different videos together into a branched narrative that lets your viewers have an active role in your story. Once you are happy with the story you simply click publish and your sharing options will appear. You can post a link to your news media’s social channels. You can take the iFrame code and embed the story within your online article. You can use our SDK to pipe the VR stories into your company’s mobile app. The only thing that the viewer then needs to do is to decide if he or she wants to view it in either VR or Panorama mode.
Our goal is to reduce the time, effort, and knowledge required to create interactive virtual reality stories that will delight your viewers. If you haven’t yet, stitch your 360-videos and photos and try out Viar360. Make sure you also check out this post about how companies are using virtual reality for employee training or what are VR market size forecasts.